Note: This guide has been written for vCloud Automation Center 6.0 (vCAC 6.0) using the following software builds:
VMware-vCenter-Server-Appliance-5.5.0.5100-1312297_OVF10.ova
VMware-VMvisor-Installer-5.5.0-1331820.x86_64.iso
VMware-Identity-Appliance-2.0.0.0-1445146_OVF10.ova
VMware-vCAC-Appliance-6.0.0.0-1445145_OVF10.ova
Deploying the Virtual Appliances
-
Download the vCloud Automation Center Identity Appliance from My VMware.
-
Download the vCloud Automation Center Appliance from My VMware.
-
Login to the Web Client.
-
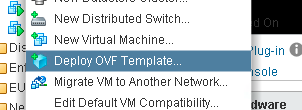
Right click your Datacenter Object and select “Deploy OVF Template”
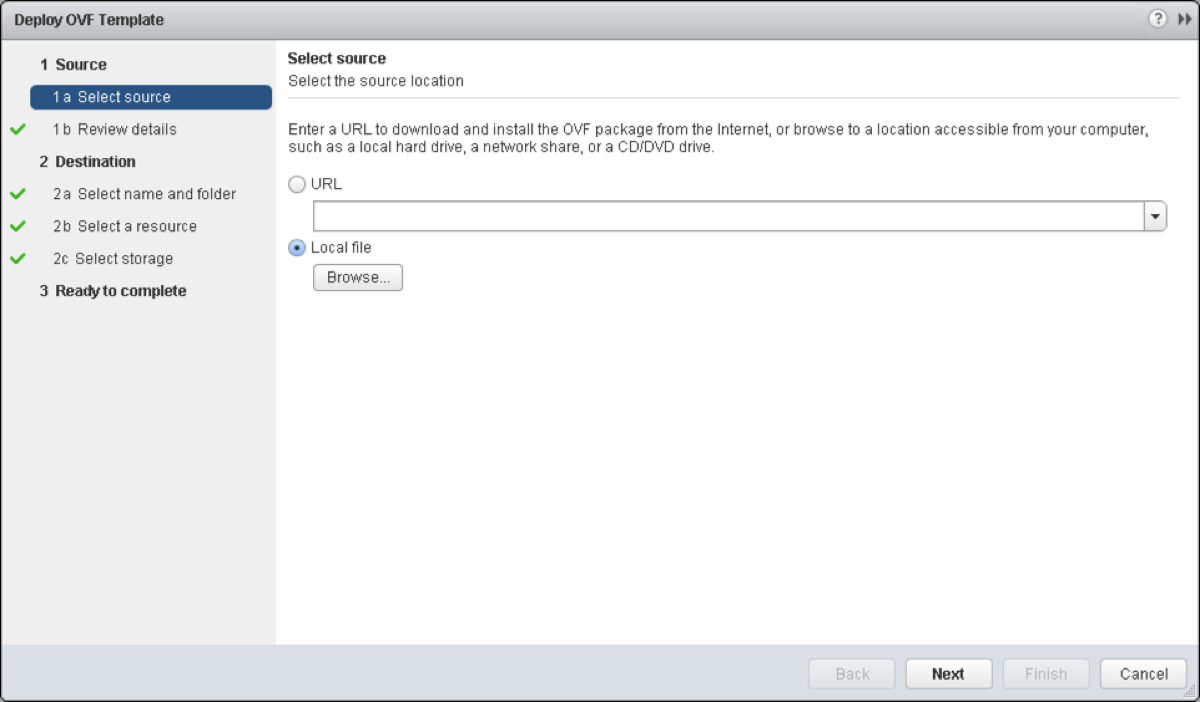
- Click the “Local File” radio button and then click Browse.
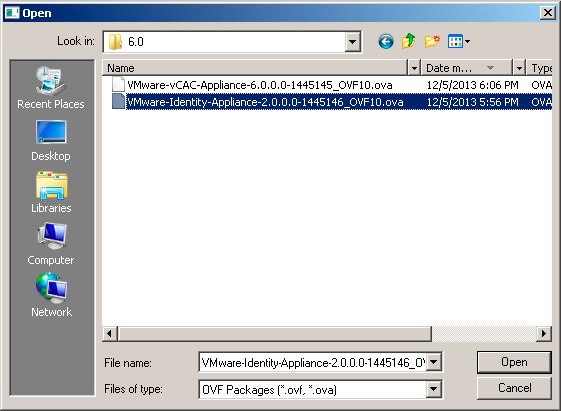
- Navigate to the location you have saved your vCAC Identity Appliance, select the OVA file and click Open.
-
Click Next
-
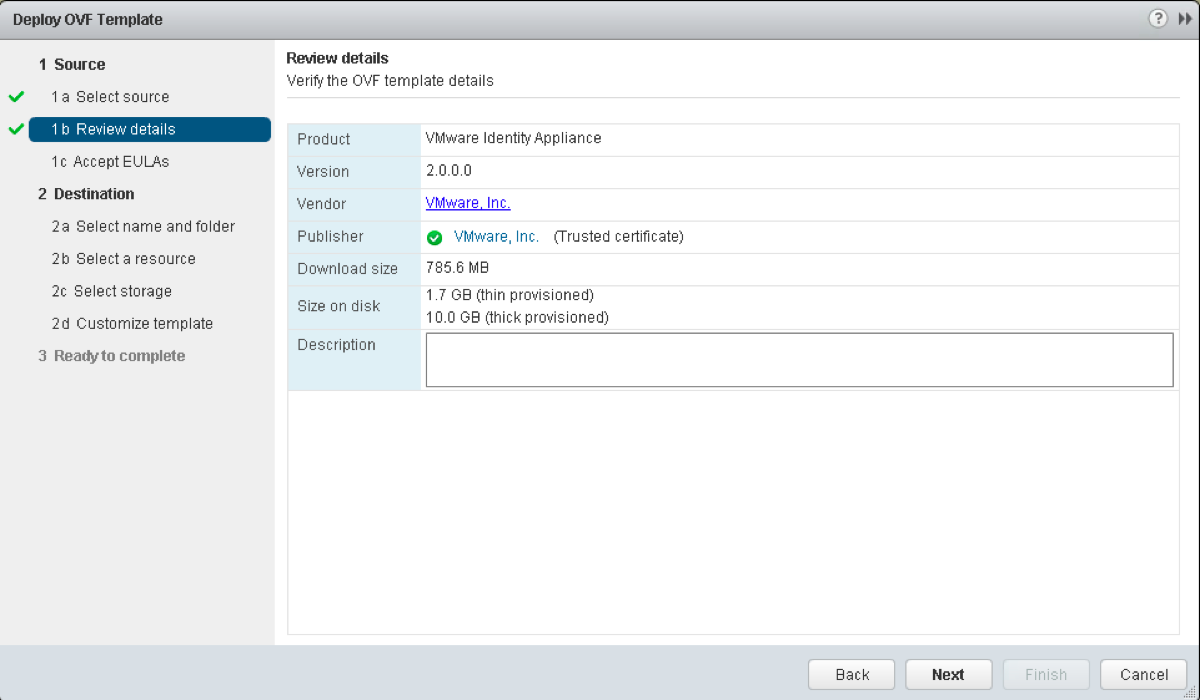
Review the details provided and then click Next.
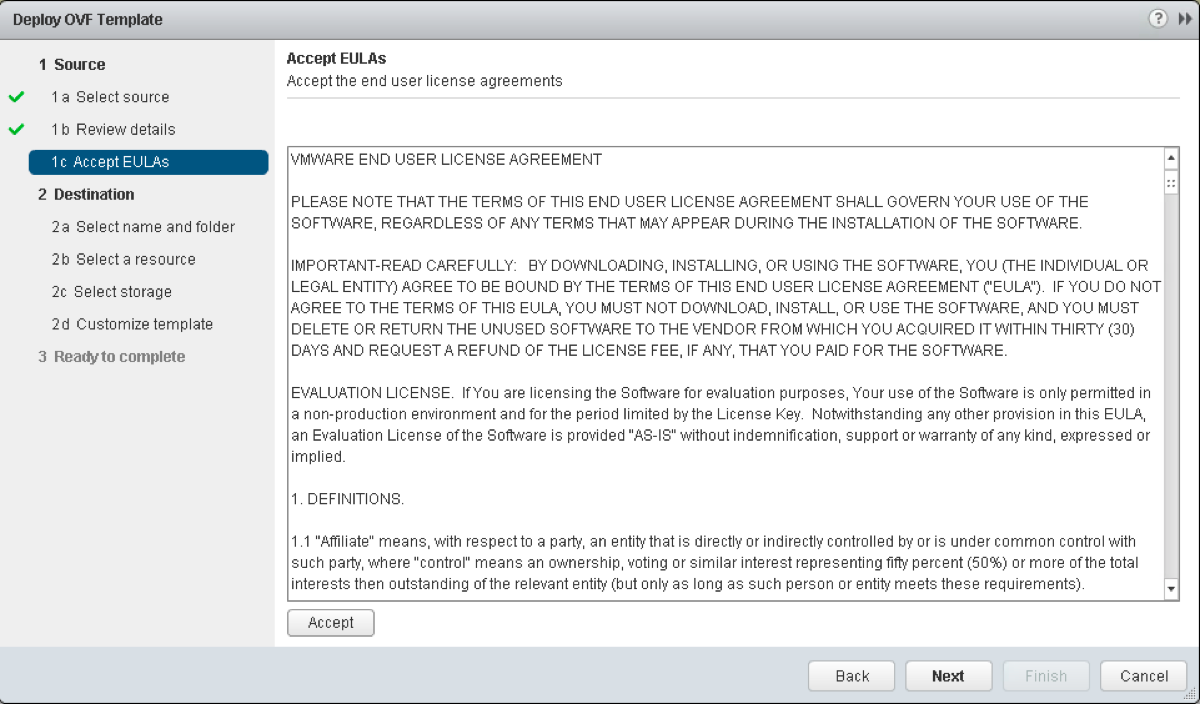
- To accept the EULA, click Accept and then click Next.
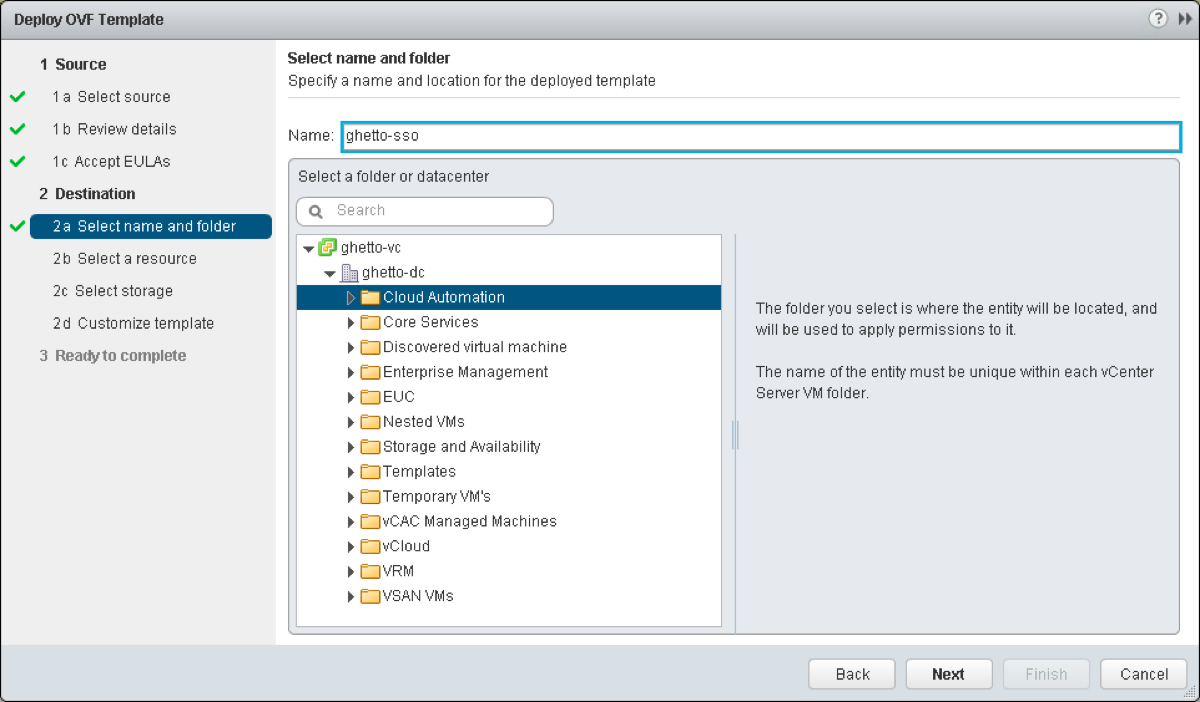
- Enter a name for your vCAC Identity Appliance and select a Folder or Datacenter in which to place it and click Next.
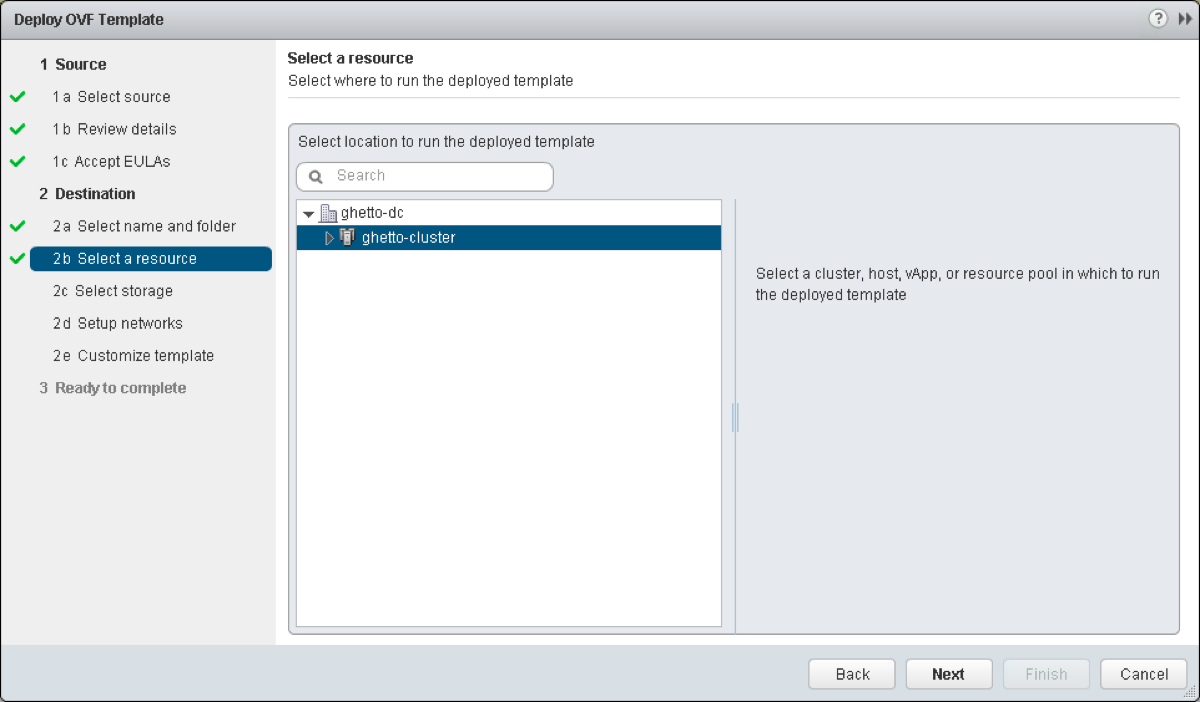
- Select a Cluster, Host or Resource Pool where you want the vCAC Identity Appliance to run and click Next.
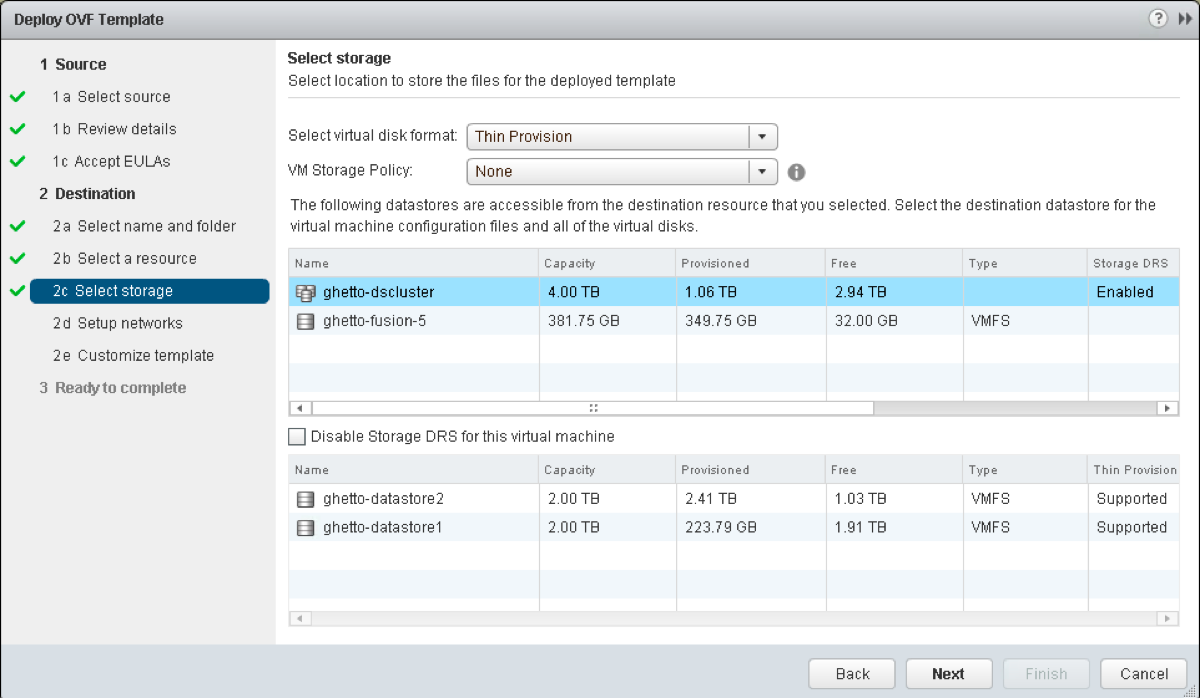
- Select a Virtual Disk Format, and a VM Storage Policy if these are configured in your environment.
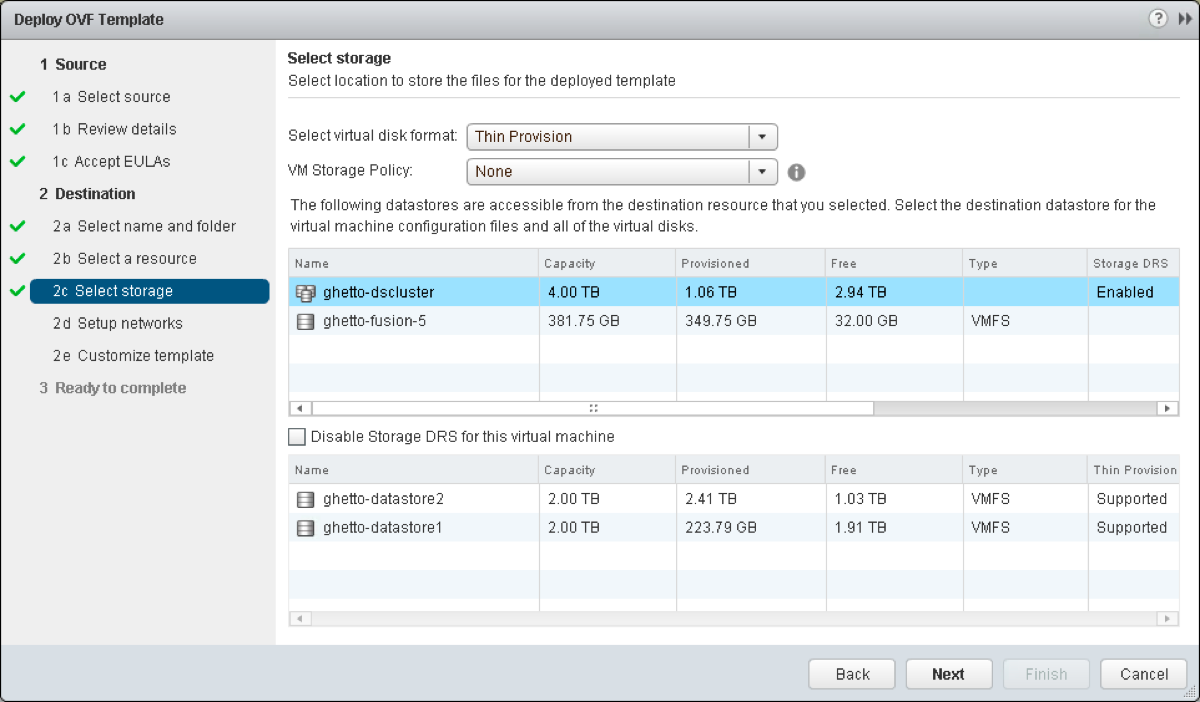
- Select a Datastore Cluster or Datastore where you want your vCAC Identity Appliance to be stored and click Next.
- Select the appropriate Port Group from the drop down list to attach the vCAC Identity Appliance to and click Next.
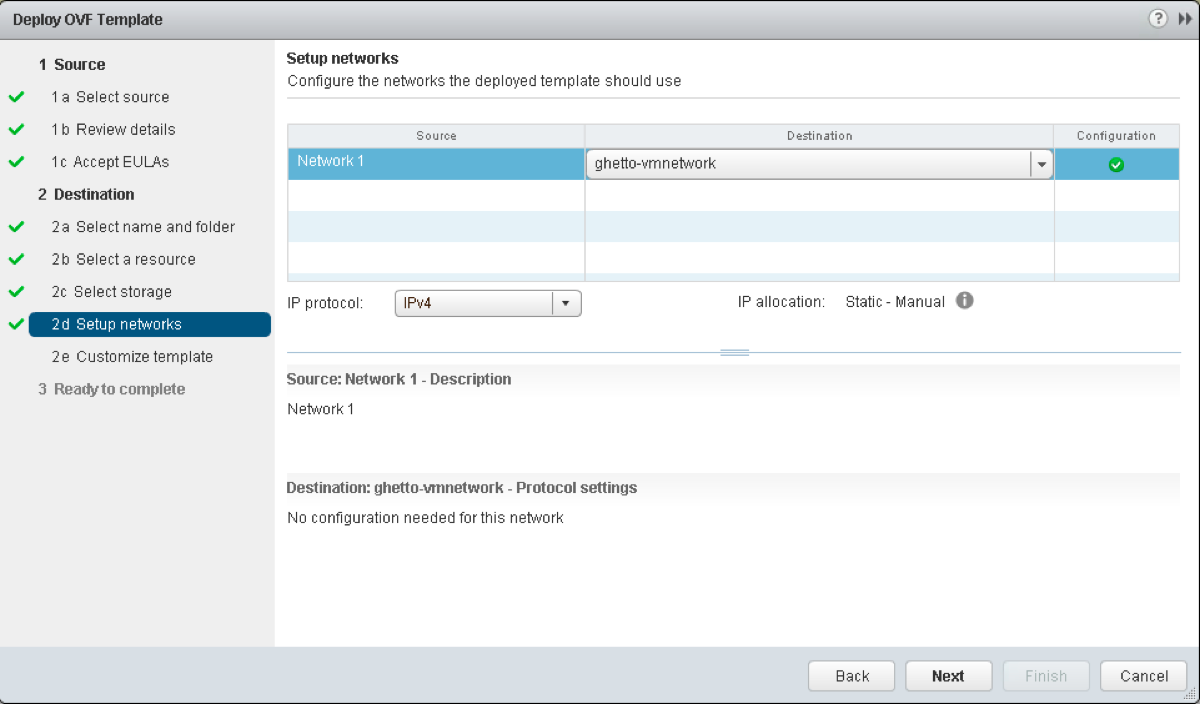
NOTE: IPv6 is not supported on the vCAC Appliances, so do not change the default IPv4 drop down box value.
__
-
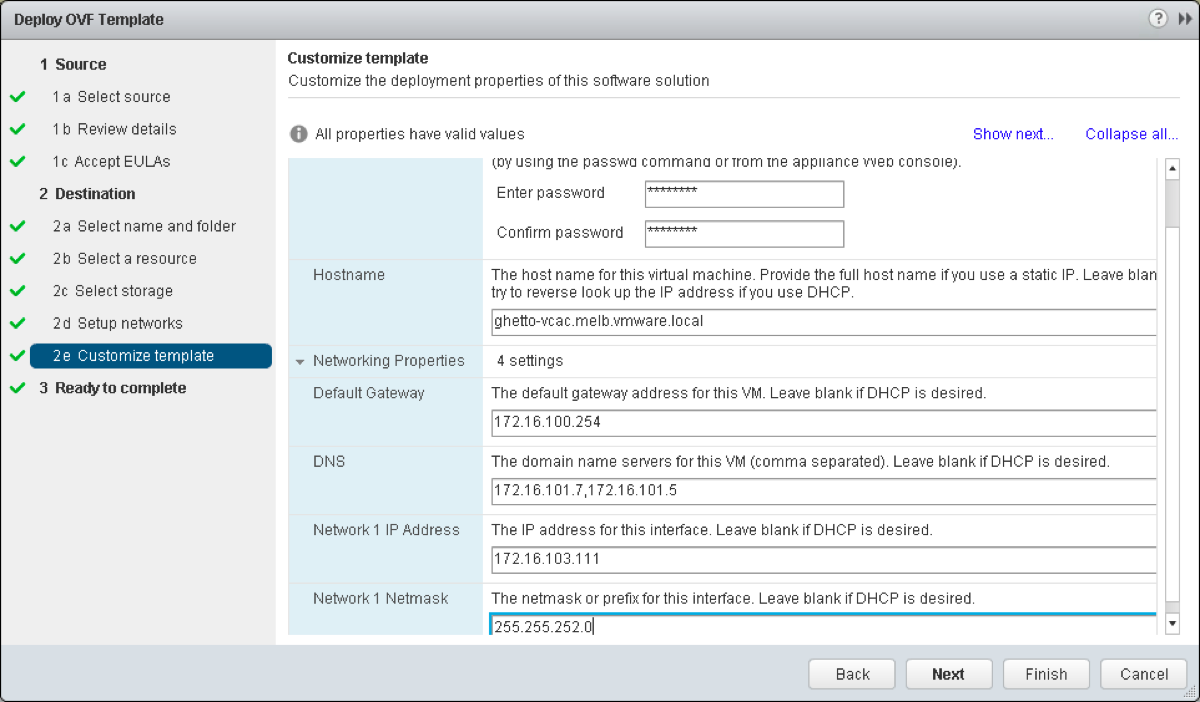
Enter a password for the root account. This will be used when logging into the VAMI.
-
Enter your hostname. It is strongly recommended that you enter the FQDN of the appliance in this field.
-
Enter your Default Gateway, DNS Servers (values separated by commas), IP address and Subnet Mask and click Next.
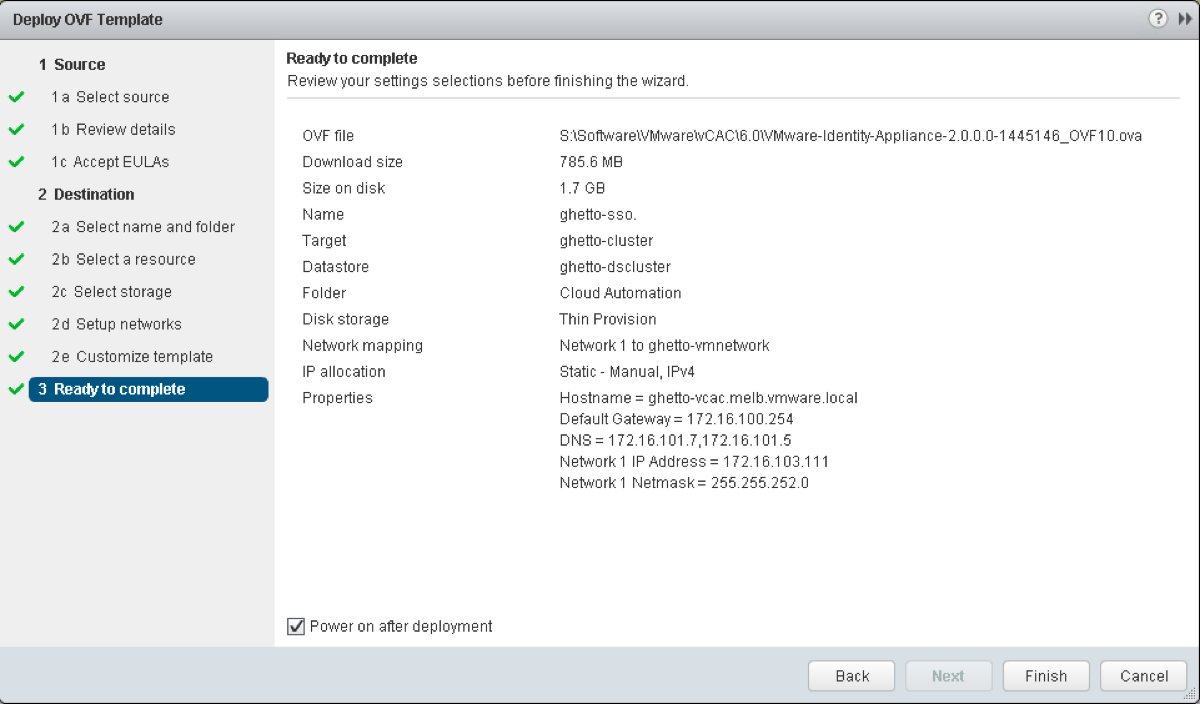
- Tick the Power on after deployment checkbox and click Next.
- Repeat steps 4-18 for the vCloud Automation Center Appliance.
Configuring DNS
-
Login to your DNS Server and launch the DNS Management console.
-
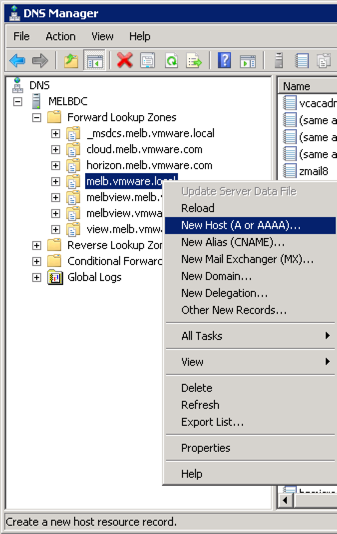
Navigate to the appropriate forward lookup zone, right click on it and select New Host (A or AAAA).
-
Enter the name of your vCAC Identity Appliance minus the domain suffix.
-
Enter the IP Address of your vCAC Identity Appliance.
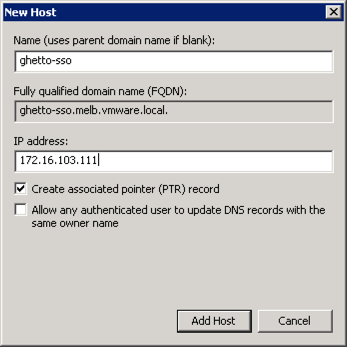
Note: Ensure that the tick box for “Create Associated Pointer (PTR) Record” is checked.
- Repeat steps 2-5 for your vCloud Automation Center Appliance.
