Having deployed the vCAC Virtual Appliance(s) we can now move onto the vCAC IaaS server installation.
Assumptions:
-
You have deployed a SQL Server, using a supported OS and SQL version.
-
You have deployed a VM for your IaaS Server, using a supported OS.
Note: Windows Server 2012 R2 is not a supported OS for your IaaS box.
SQL Server Prerequisites
-
First of all, login to your SQL Server.
-
Open Server Manager and Disable Internet Explorer Enhanced Security Configuration for Administrators.

- Open a browser and navigate to the vCAC 6.0 Iaas Installation page at https://fqdn.of.your.vcacva:5480/i and click on the link to download the .Net Framework.
I’d recommend saving this to a shared location so that you can use it for your vCAC 6.0 IaaS Server install also.
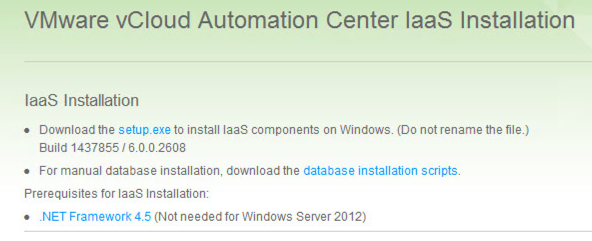
Note: DO NOT download and install the .Net 4.5.1 framework. This will come back to bite you during the IaaS installation.
-
Navigate to where you downloaded the file to, then follow the prompts to install.
-
From the vCAC Iaas Installation page, click on the setup.exe link to download the installation file – this file contains the perquisite checker and should be used for both your SQL and IaaS installations. I’d recommend saving this to a shared location so that you can use it for your vCAC IaaS Server install also.
-
Launch the executable. Depending on your UAC settings, you may see the following dialog:
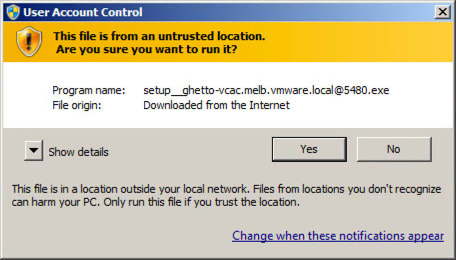
Click Yes and let’s get on with this!
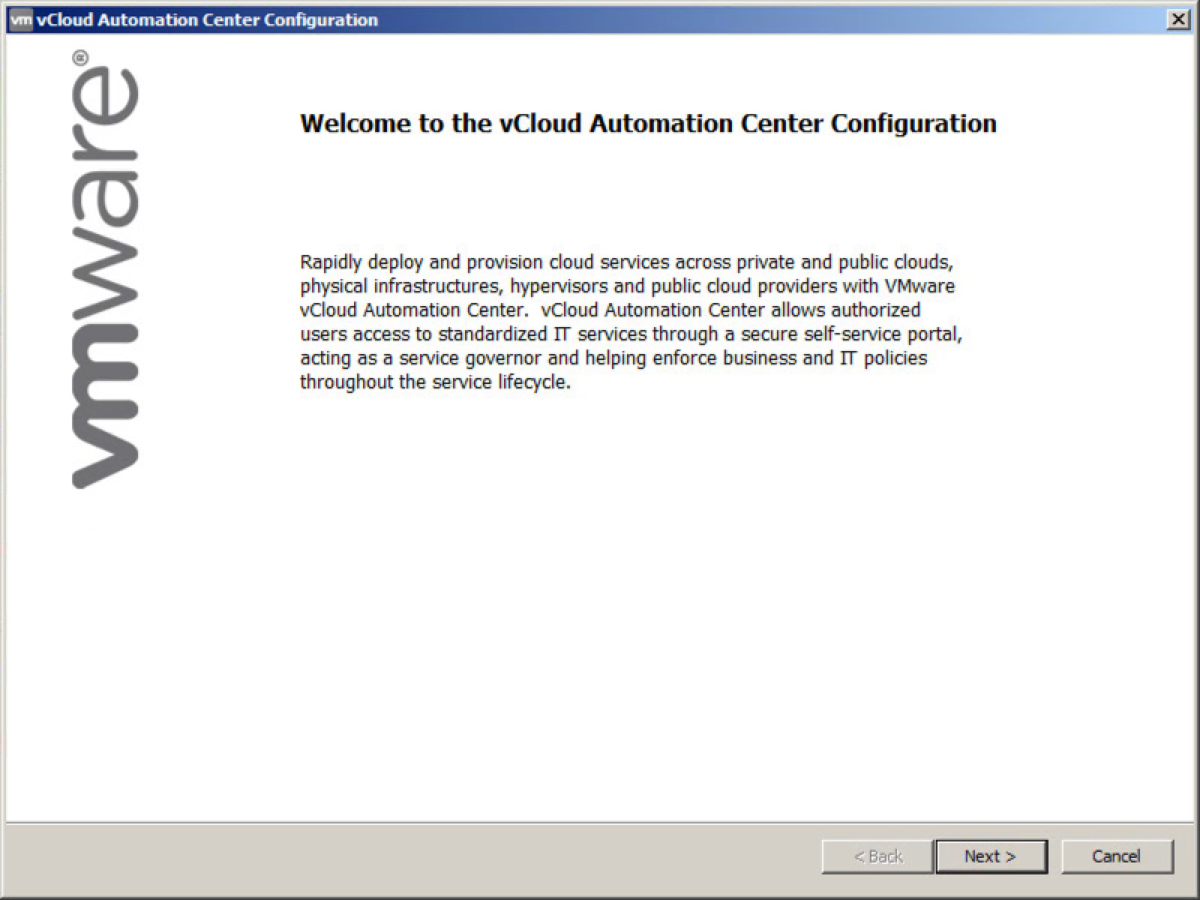
- On the vCAC Installation splash screen, click “Next”.
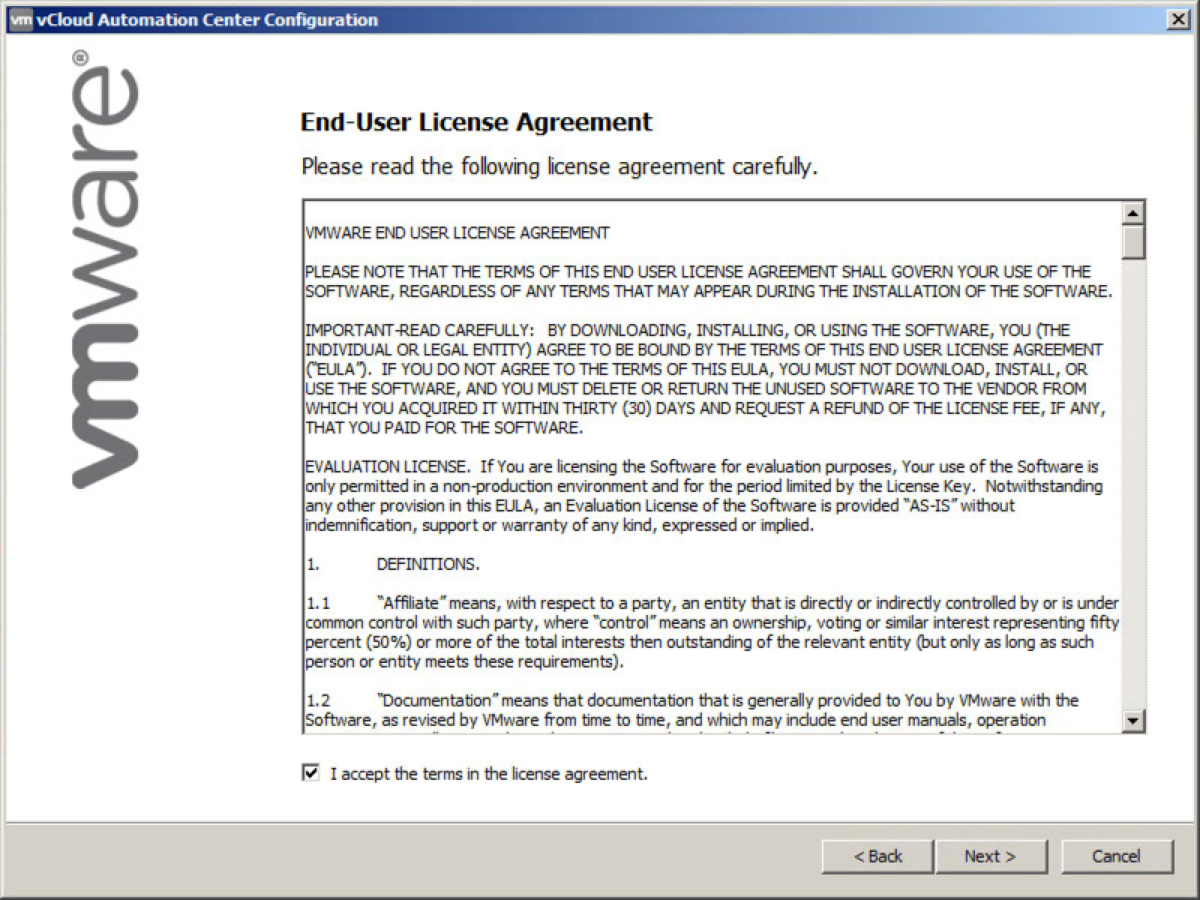
- Click the checkbox to accept the EULA and then click “Next”.
- Enter the VAMI Login details for your vCAC virtual appliance and click “Next”.

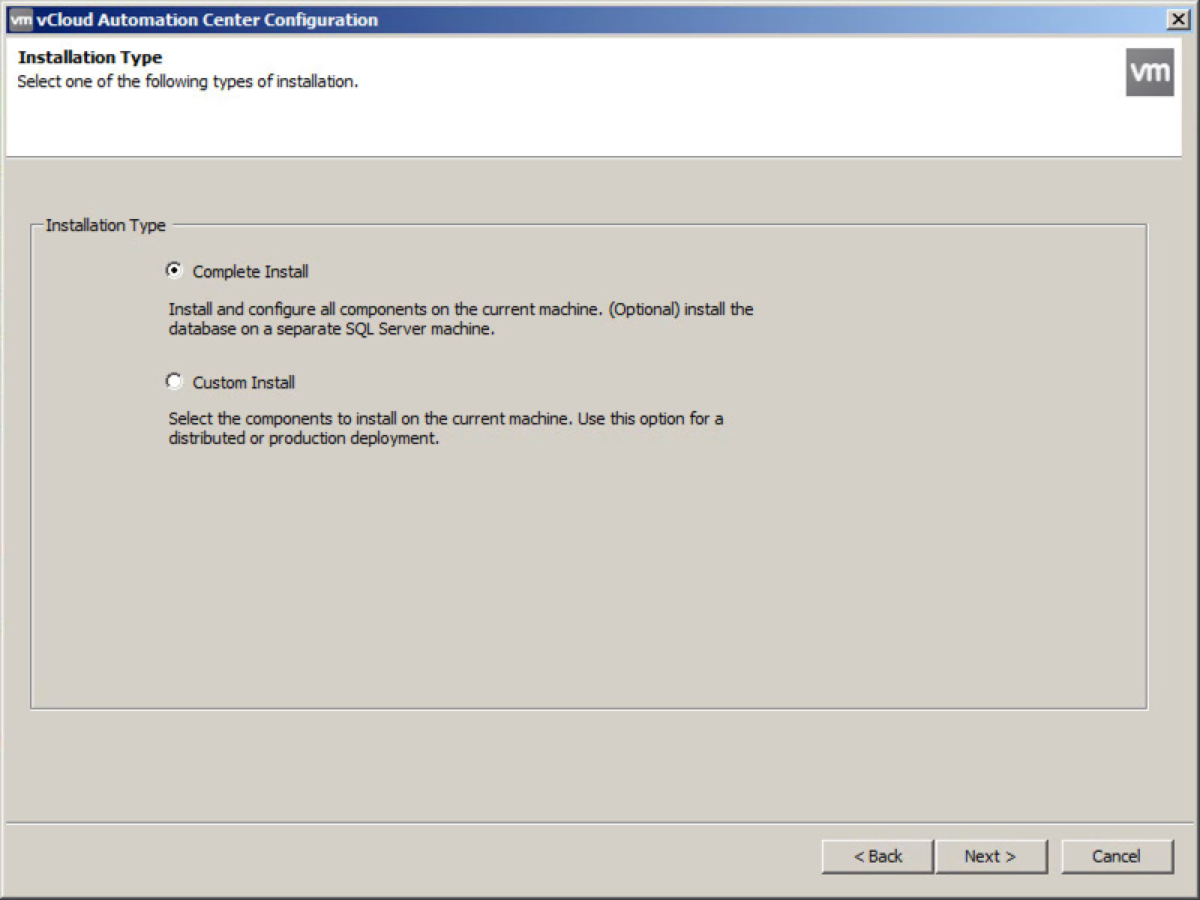
- Leave the Installation Type selection on Complete Install and click “Next”. I’ll tackle the distributed vCAC install in a later post.
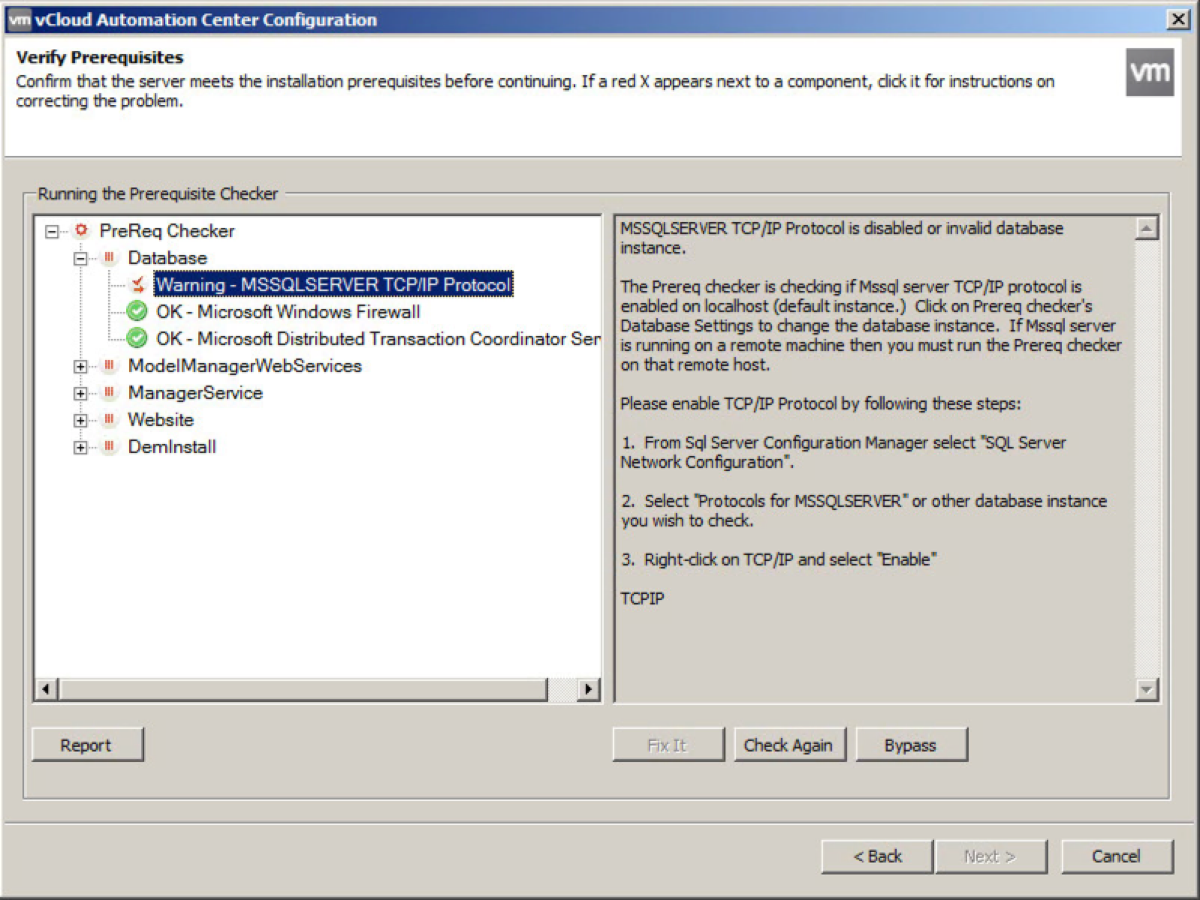
- The Prerequisite Checker will scan your machine and present it’s results. Click the minus sign next to all of the components except “Database” to clean up the view. Leave this open so we can run the scan again later.
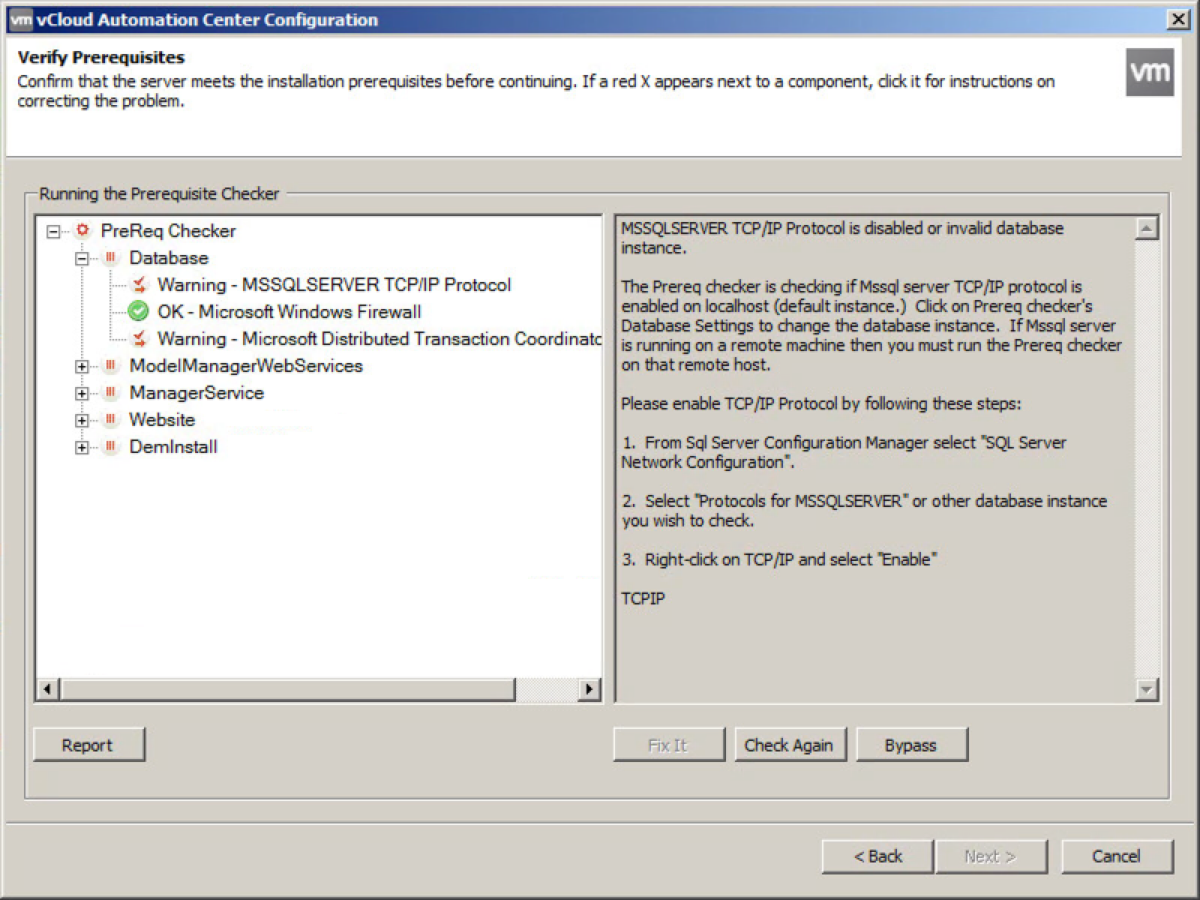
- Open the SQL Server Configuration Manager, and browse to SQL Server Network Configuration > Protocols for MSSQLSERVER and double click TCPIP.

- Scroll down until you find your adapter address and click the dropbown box to set Enabled to “Yes”. Click Apply and restart the MSSQL Service.
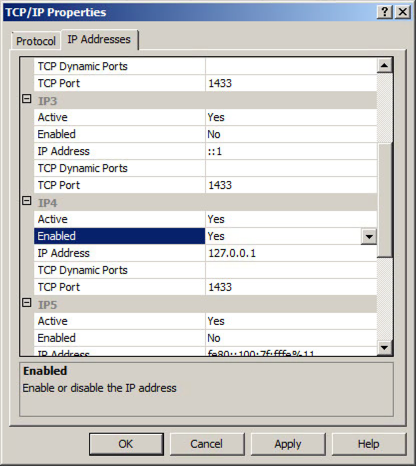
Note: I’ve had some problems getting the prereq checker to acknowledge this step. I’ve attempted modifying the instance name that the checker uses but with no luck. Just carry on with the installation.
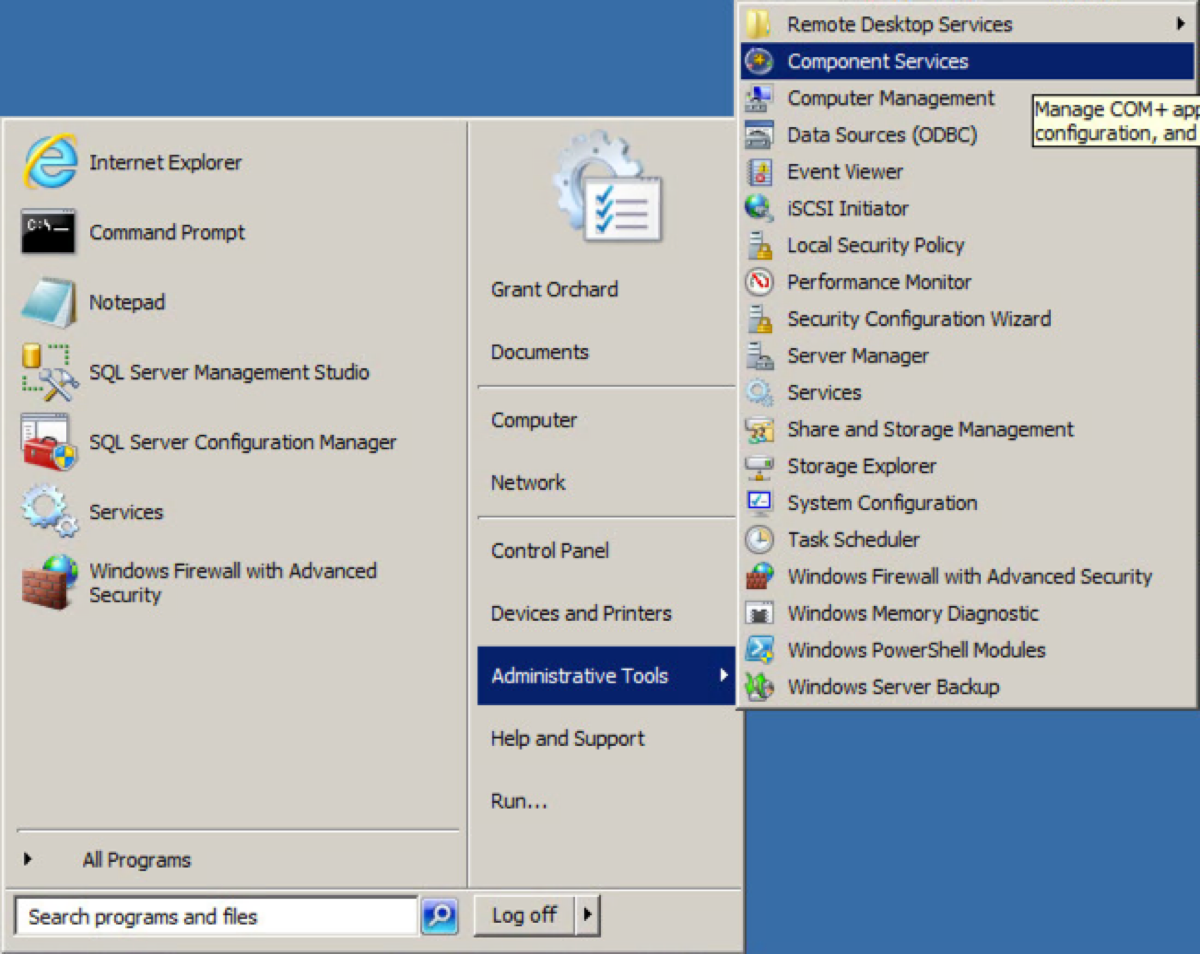
- Open the Component Services.
-
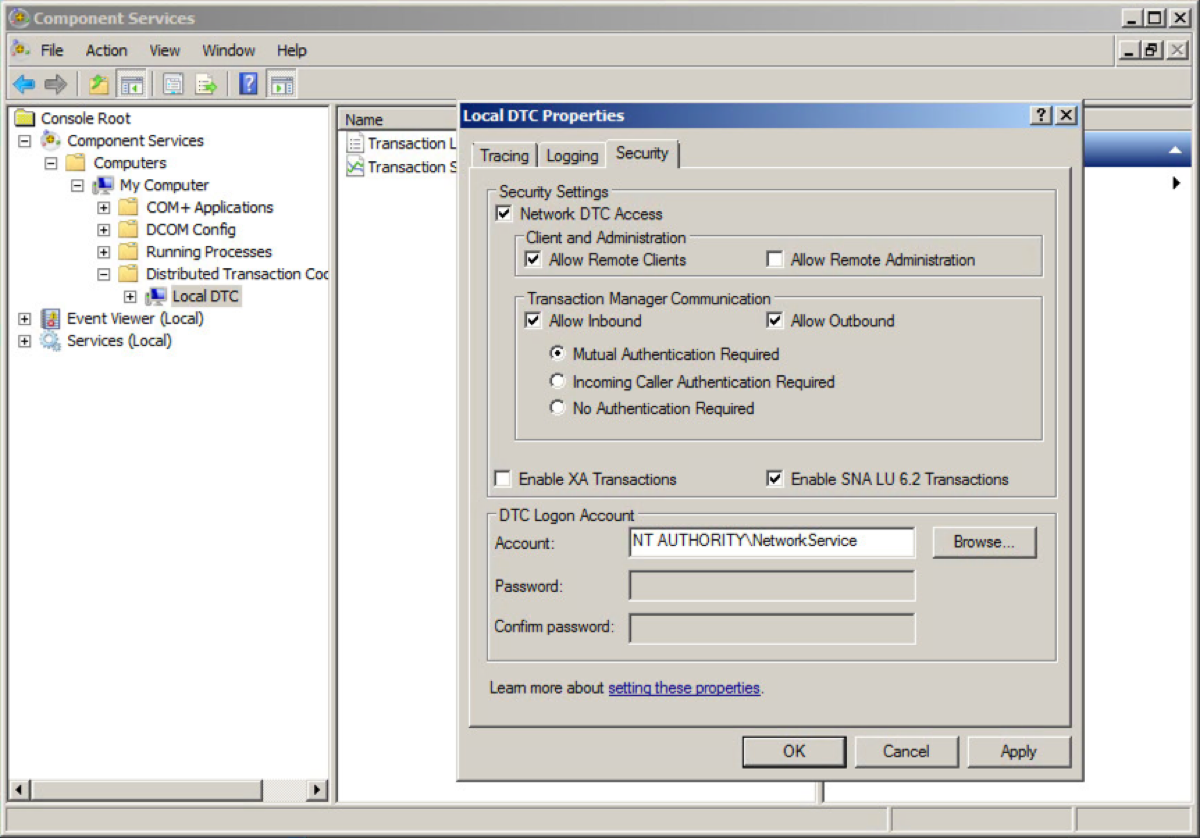
Navigate to Computers > My Computer > Distributed Transaction Coordinator then right click and select “Properties”.
-
Select the Security tab and enable Network DTC Access, Allow Remote Clients and then Allow Inbound and Allow Outbound. Mutual Authentication Required (which is selected by default) is the correct setting to use. Click “OK”.
- Switch back to the vCAC Prerequisite screen and click the “Check Again” button.
- If you’re happy that you’ve configured the SQL Server TCP/IP settings correctly, then click “Cancel” and we can move onto the vCAC IaaS Server prerequisites.
vCAC 6.0 IaaS Server Prerequisites and Installation
-
Login to your vCAC IaaS Server.
-
Open Server Manager and Disable Internet Explorer Enhanced Security Configuration for Administrators.
-
Assuming you saved the .Net installation file to a shared location as suggested in the previous section, navigate to it and launch the file.
-
Assuming you saved the vCAC installation file to a shared location as suggested in the previous section, navigate to it and launch the file.I’d recommend launching this as the account which you will run the service.
-
On the vCAC Installation splash screen, click “Next”.

- Click the checkbox to accept the EULA and then click “Next”.

- Enter the VAMI Login details for your vCAC virtual appliance and click “Next”.

- Leave the Installation Type selection on Complete Install and click “Next”.

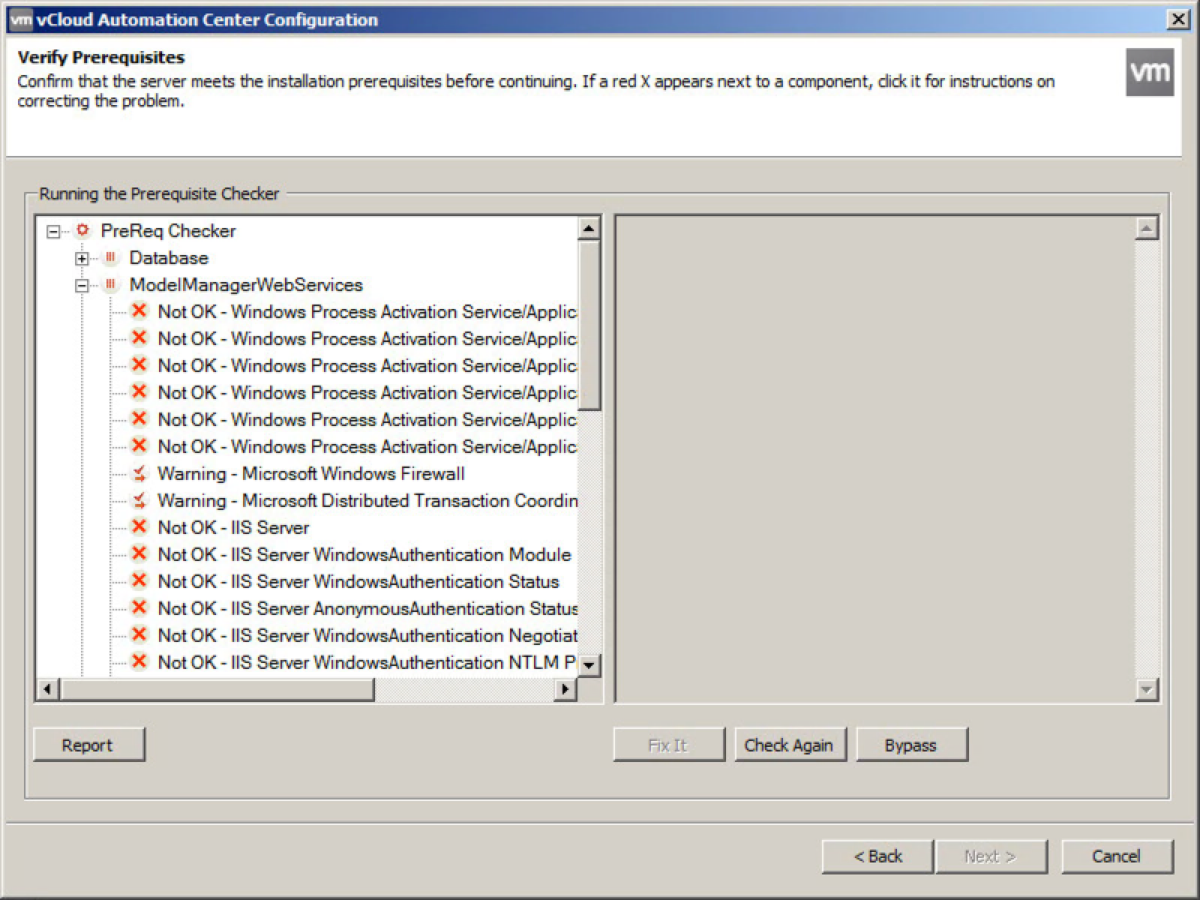
- The Prerequisite Checker will scan your machine and present it’s results.
-
Download the vCAC Prerequisite Automation Script from the VMware website.
-
Extract the contents of the file (it’s zipped).
-
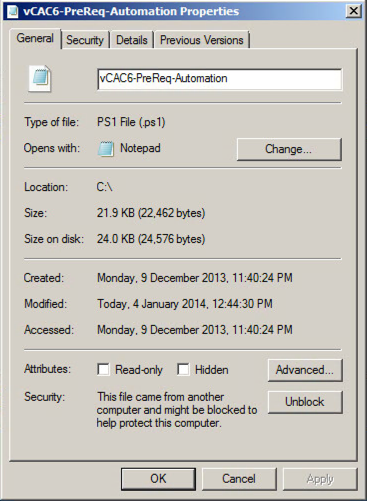
Navigate to the download location of the script, then right click and select “Properties”.
-
Click the “Unblock” button then click “OK”.
- Assuming this is a clean installation of Windows, we need to enable script execution. Run Powershell “as Administrator”. Type “set-executionpolicy bypass” (this script is not signed) and hit enter, then confirm the change by hitting Enter again.

- Execute the script

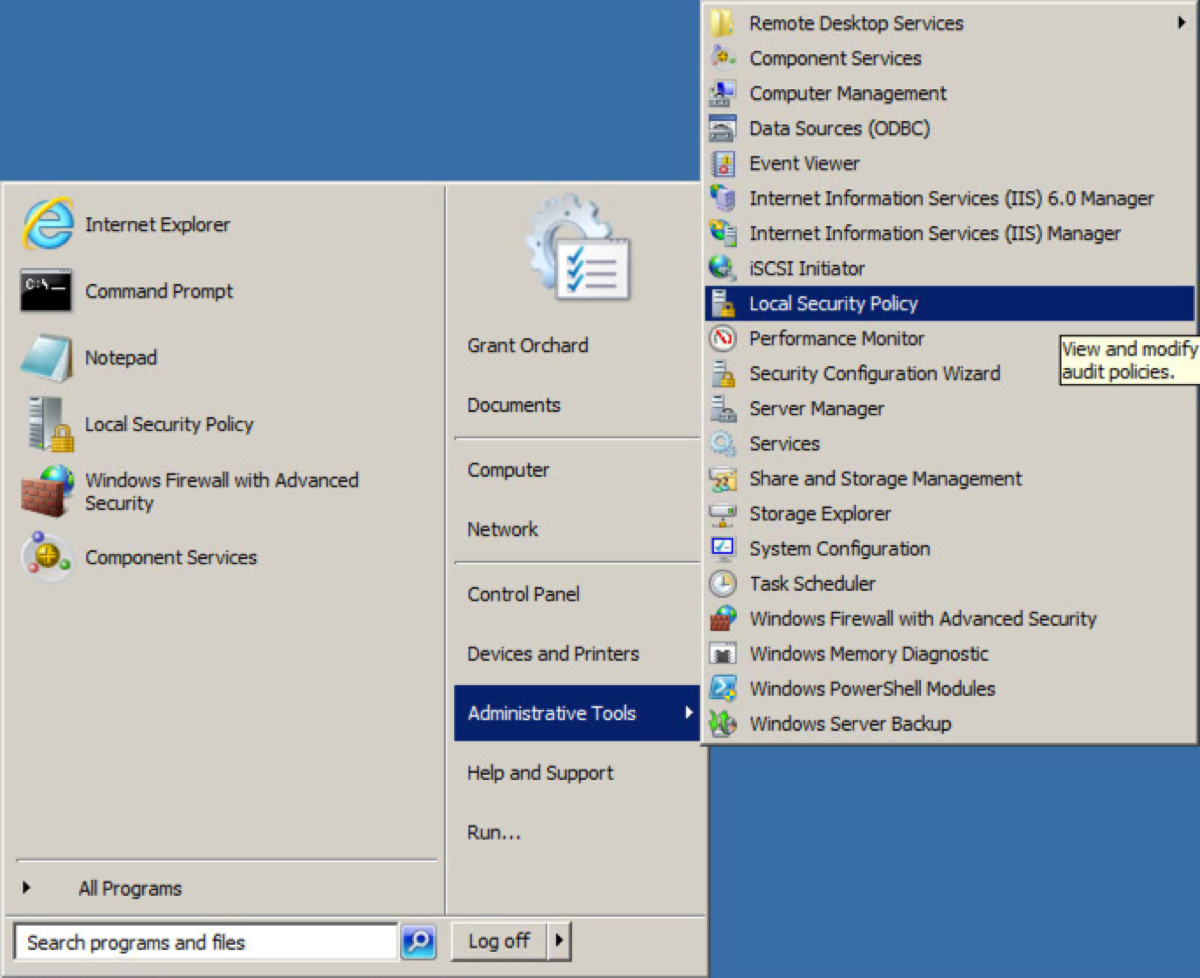
- Before proceeding further, ensure that the account which you want to run the vCAC service is given the right to Logon as a Service. Launch the Local Security Policy.
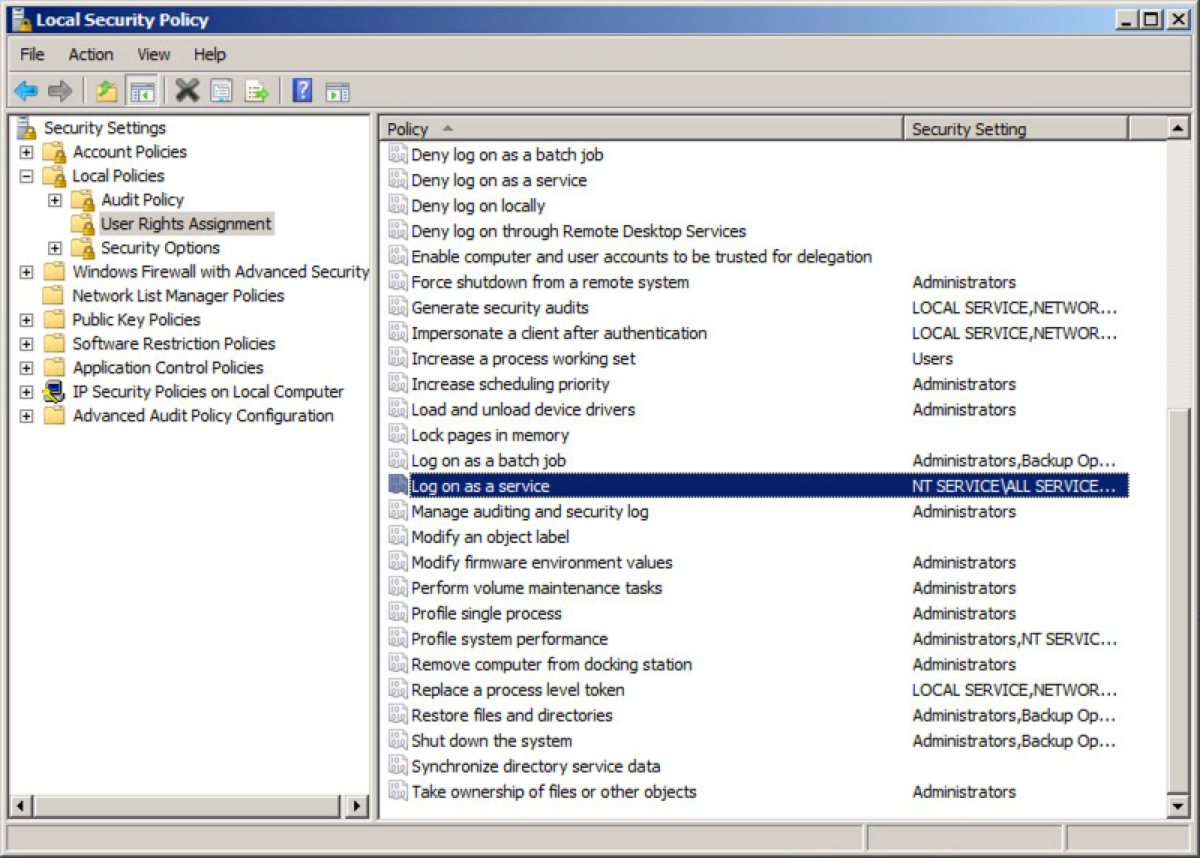
- Navigate to Local Policies > User Rights Assignment and double click on “Logon as a Service”.
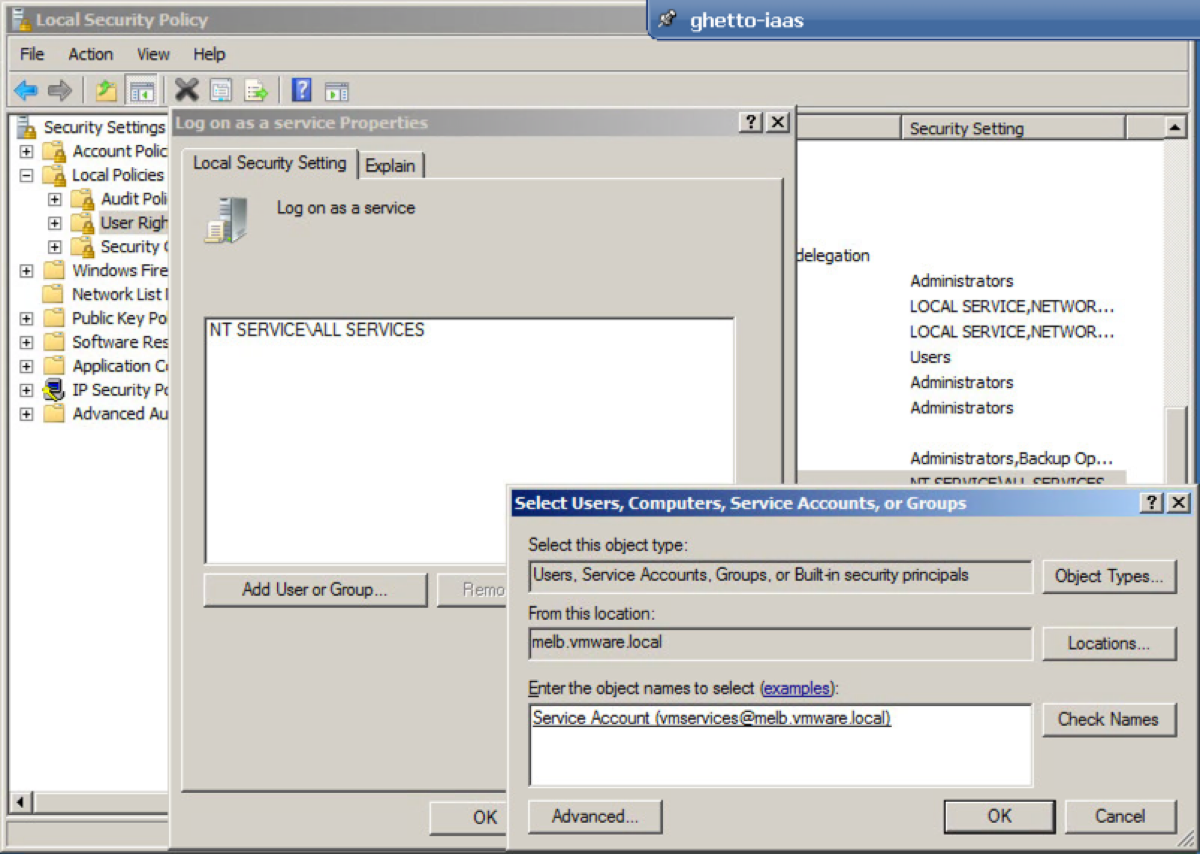
- Click Add User or Group and then enter the details of the service account before click “OK”, and then clicking “OK” again on the previous dialogue.
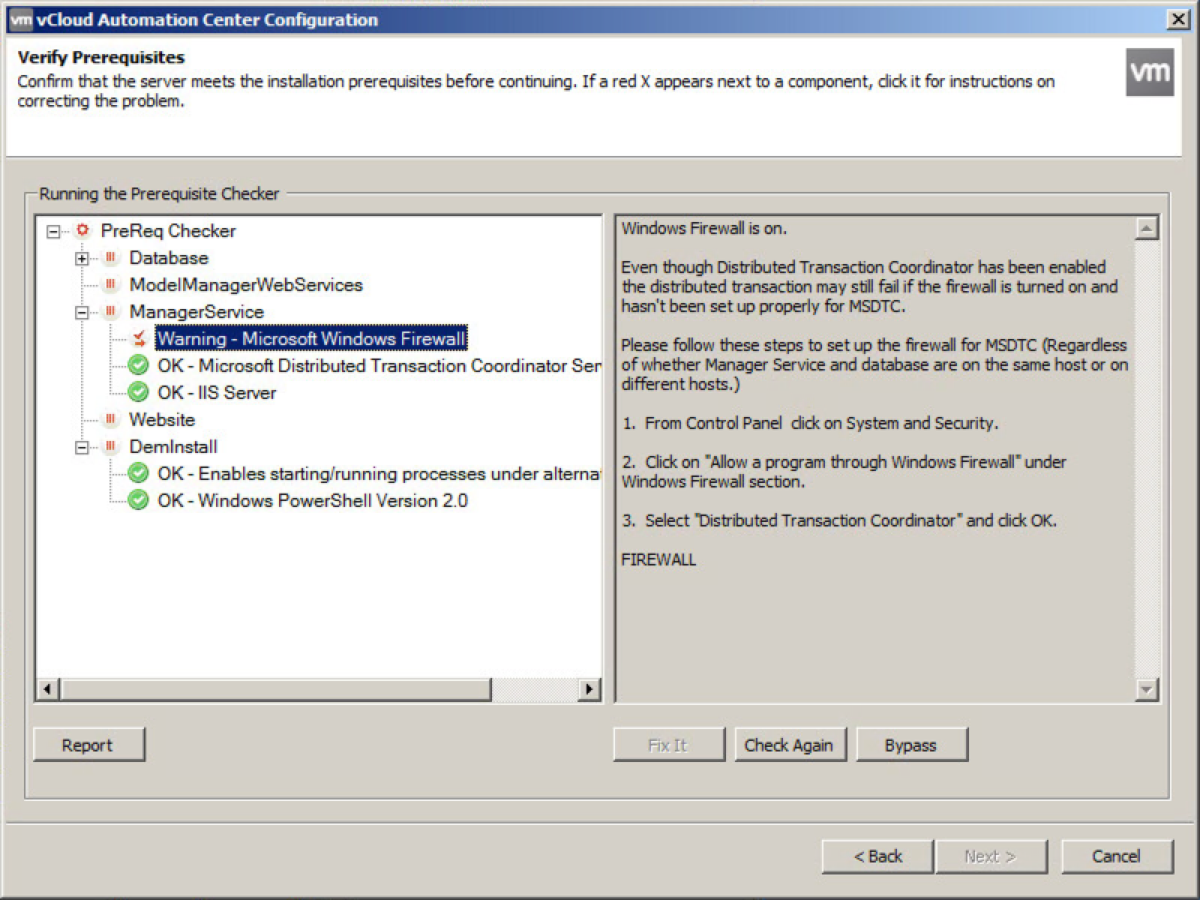
- Click on “Check Again”, and validate an items which are not green and then click “Bypass”. At this point your prerequisites are complete. Click on “Next” to begin the vCloud Automation Center 6.0 IaaS installation.
- Ensure that all the configuration details are correct. By default the SQL server is listed as the machine on which you launch the installer, so make sure you update it.
The user name will populate with the context under which you launched the installer, so update this value as needed.
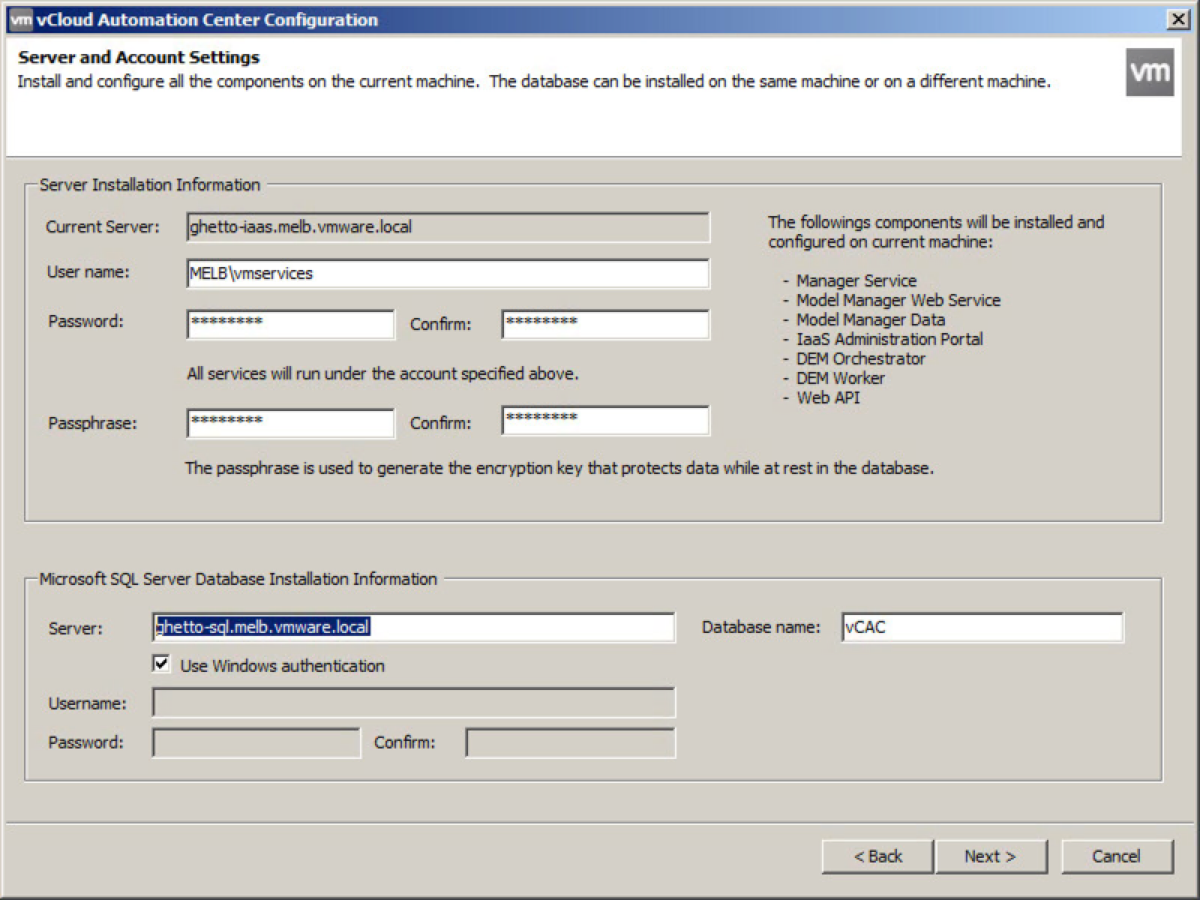
Note: If you’ve created this database already, go back and delete it (unless performing a distributed installation).
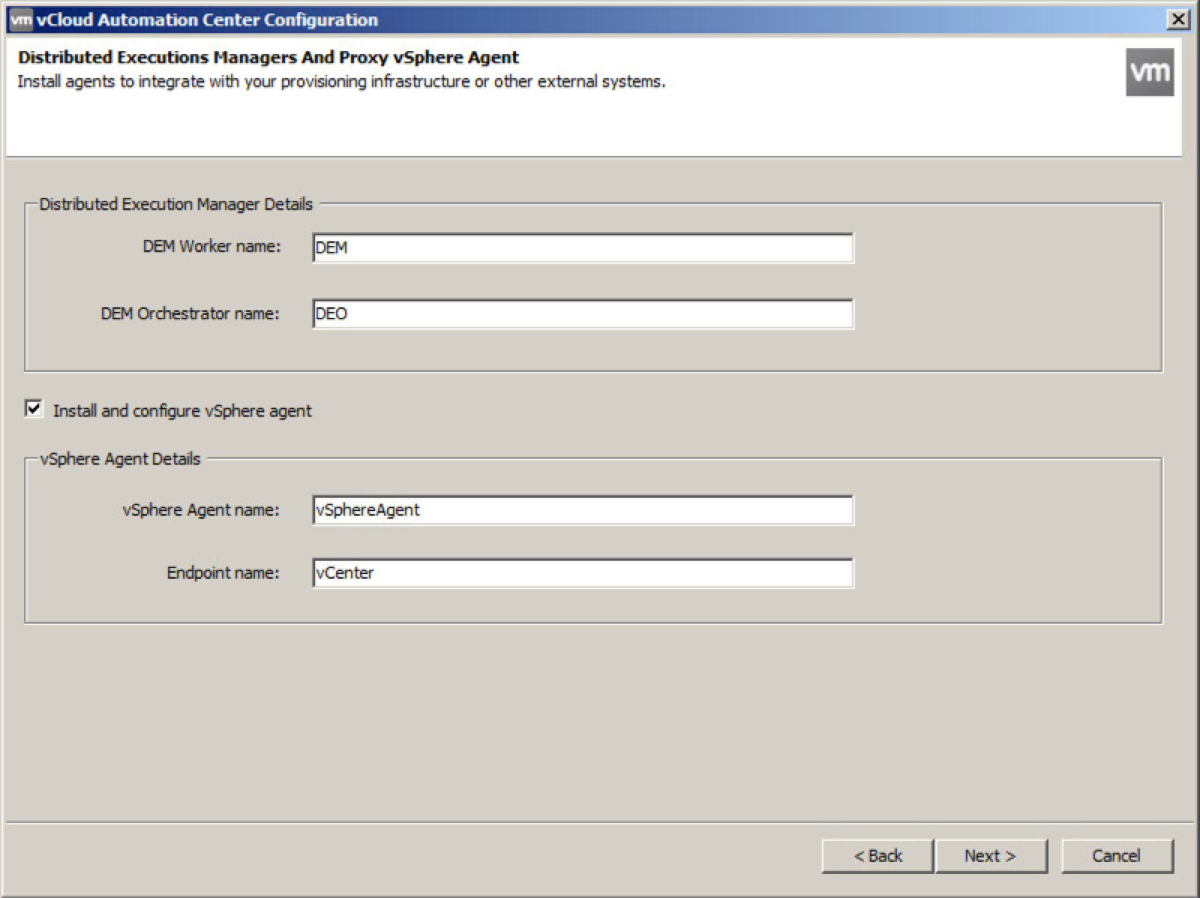
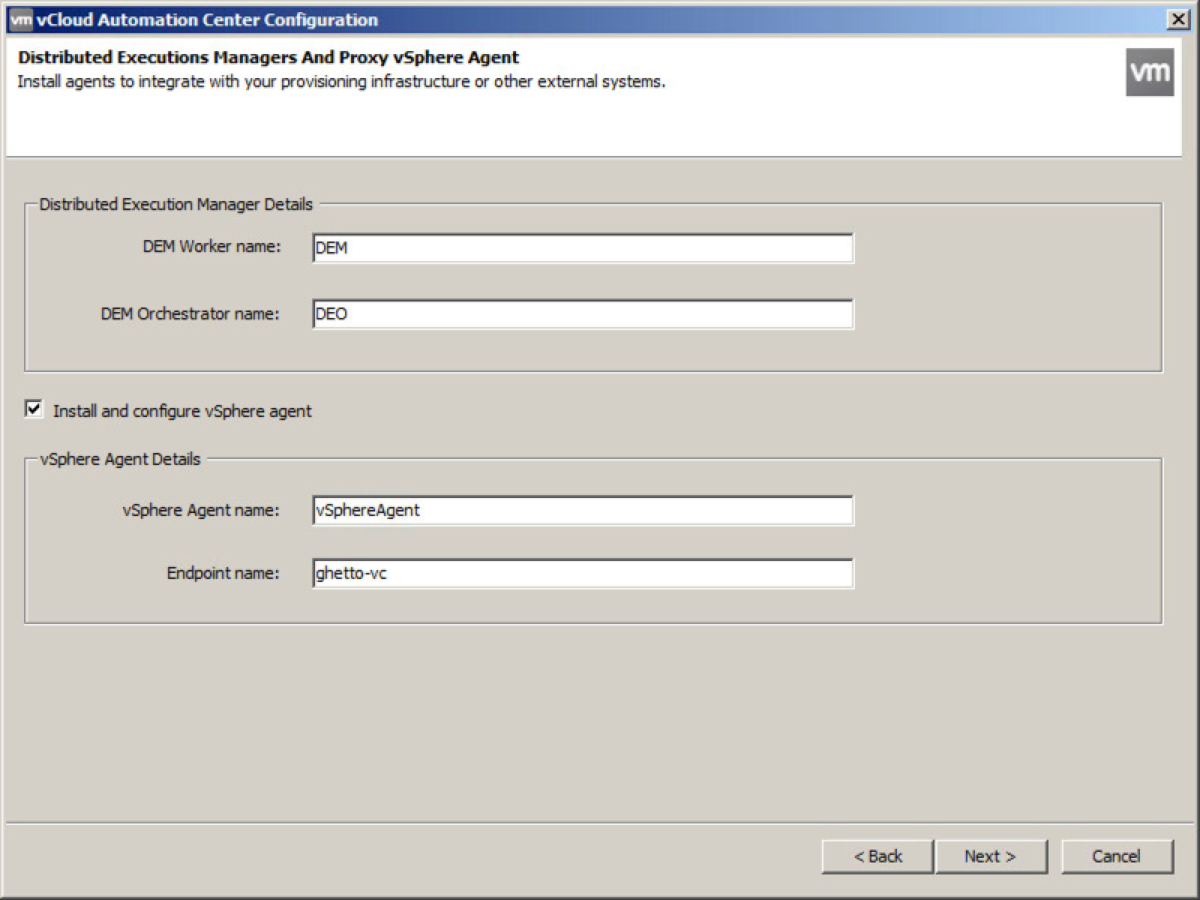
- The primary thing I’ll comment about on the next screen is the vSphere Agent Details – specifically the Endpoint name. Change this value to whatever you plan to refer to your initial vCenter server as. The Endpoint name as defined in the vSphere Agent needs to match the Enpoint name you will define in the vCAC 6.0 UI in a couple of steps. I’ve given you before and after screenshots for my environment below.
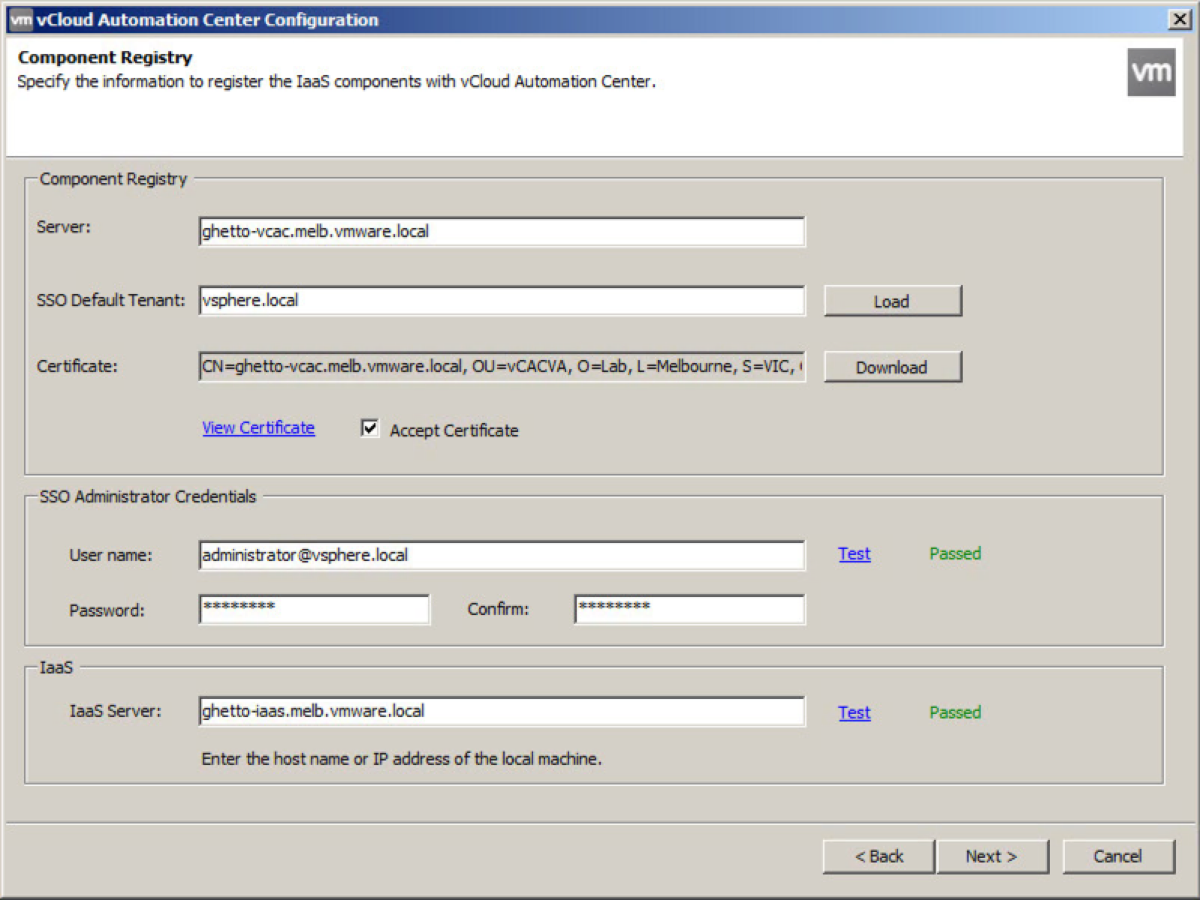
- The final page before you can sit back and sip on a schooner of cold stuff!
Click on “Load” to ensure that you don’t fat finger the default tenant.
Click on “Download” to get the vCAC Appliance certificate.
Click on “View Certificate” and once validated, tick the checkbox to Accept Certificate.
Enter the SSO Administrator credentials (not to be confused with the vCAC SSO VAMI credentials) and click “Test”.
Finally, click “Test” to validate DNS for your vCAC IaaS Server, then click “Next”.
- Click on “Install”.

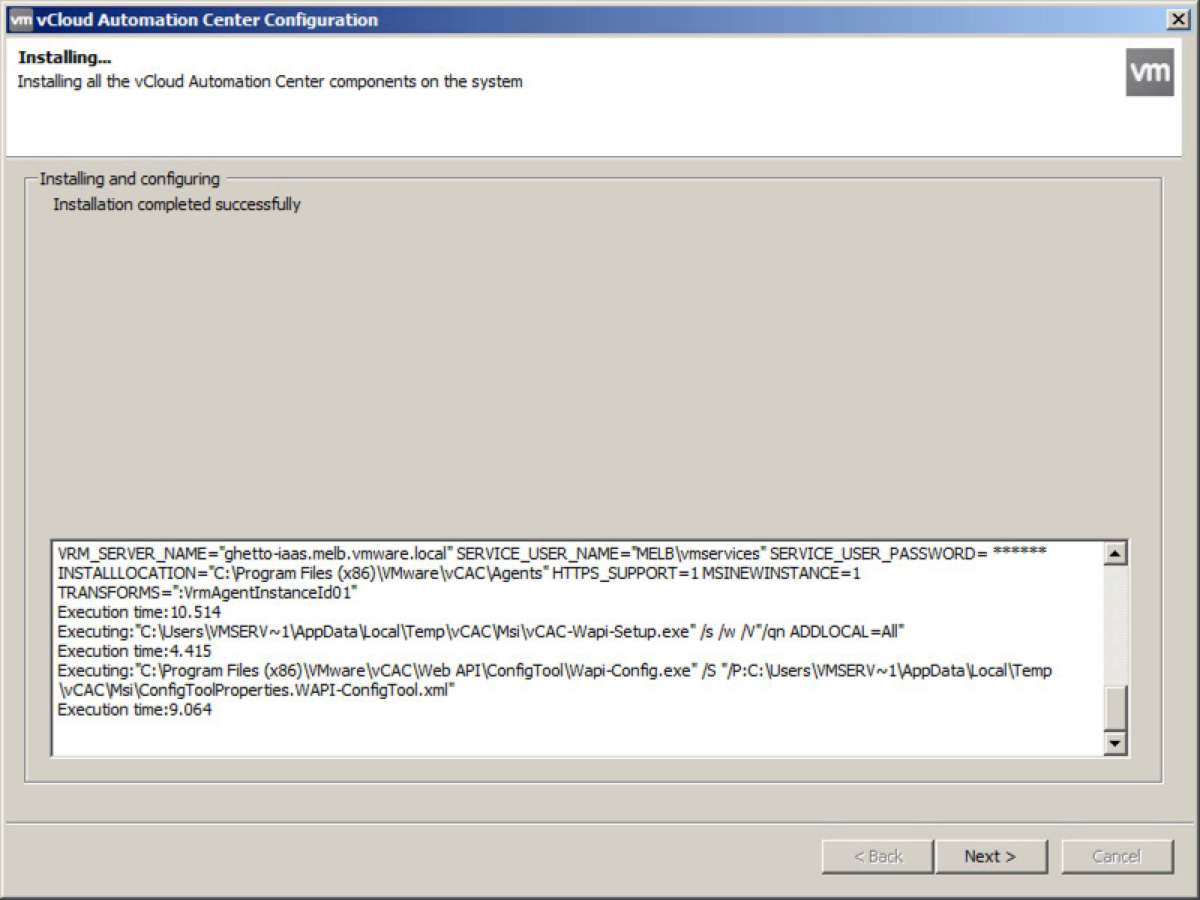
- Check the Installation Status to ensure that the installation completed successfully, and then click “Next”.
- Uncheck the tick box and click “Finish”.
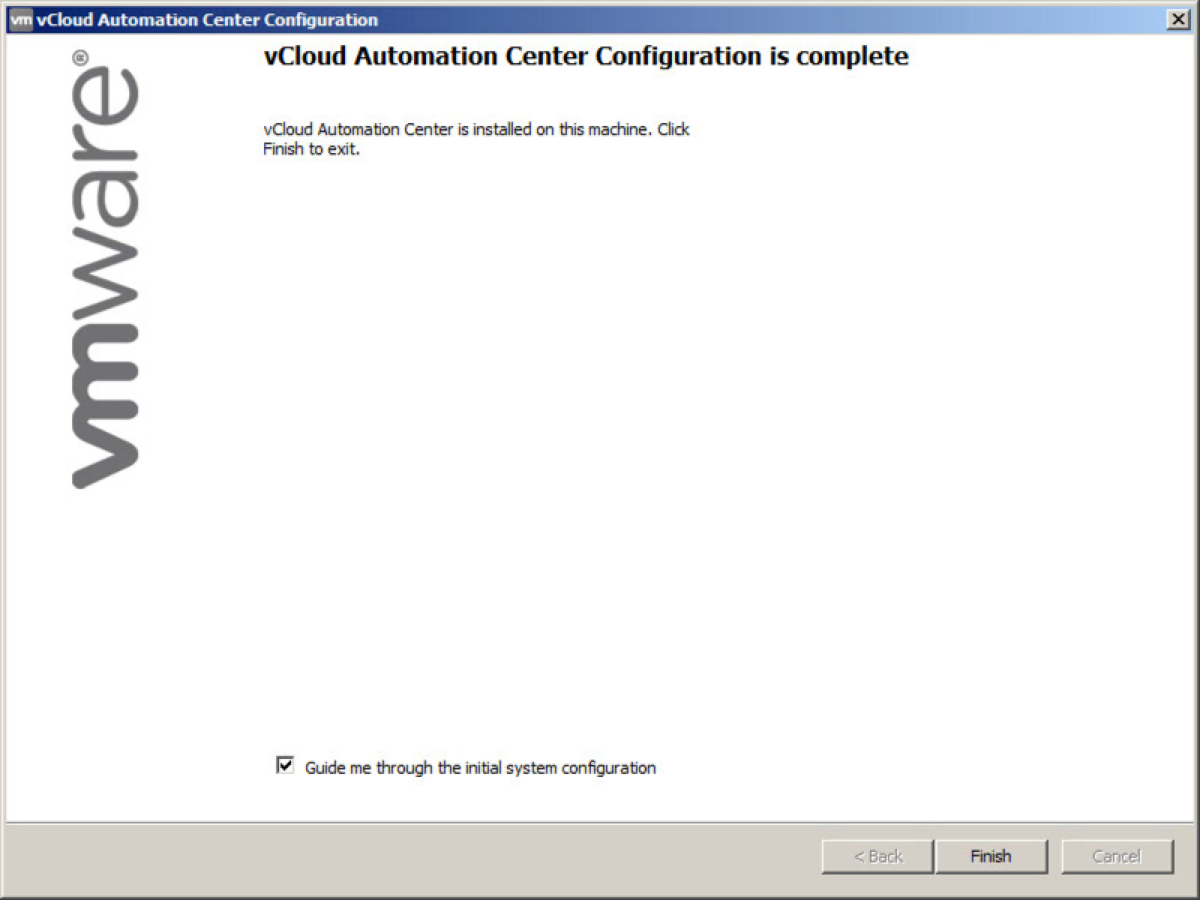
With that, your vCAC IaaS installation is complete. Next up you can either look at replacing the self signed certificates, or move straight onto configuration of the default tenant.
