
I was having a chat with Nathan at work today about this recent post and the fact that the “service availability” is only an informational piece and doesn’t actually enforce access to the service. For some people this is a suitable approach, but for others we need to be able to enforce it. This is especially the case when we start looking at maintenance windows. So what’s the solution? Once again, we turn to vCO.
[two_thirds]Once again, let’s walk our way through what is (thankfully) a super simple and elegant task with vCO. If you remember my last blog post, I defined Service Support as being from 9-5, Monday to Friday with a Maintenance Window between 10pm and Midnight on Sundays. What we’re going to do now is ensure that the service is not available during the defined maintenance window. Launch the “Deactivate a Service” workflow using the Schedule a Workflow button.[/two_thirds][one_third_last]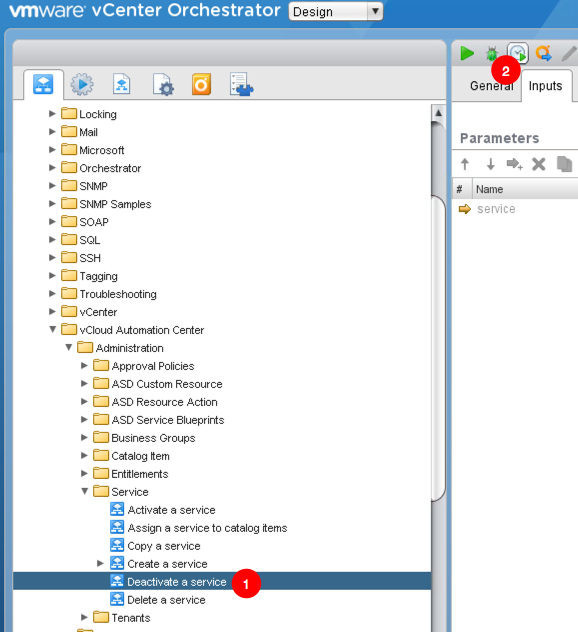 [/one_third_last]
[bra_divider height=’40’]
[two_thirds]Give your task a useful name so that other people can identify it later on. Select a Start Time that matches the defined maintenance window, and then choose a repeating schedule. Set an end date for the schedule if you so desire.[/two_thirds][one_third_last]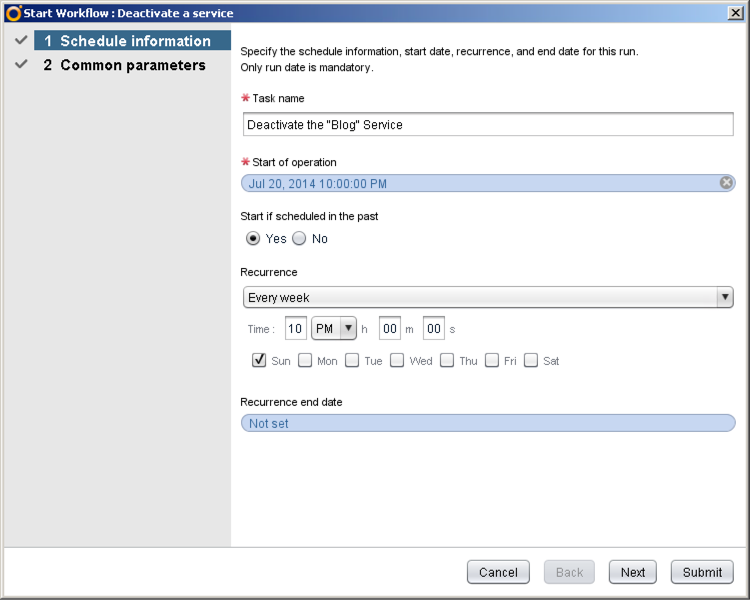 [/one_third_last]
[bra_divider height=’40’]
[two_thirds]Time to select the Service that you want this to apply to. Click the hyperlink and then enter the service name into the search field. Click on the appropriate Service, click the Select button and then click Submit.[/two_thirds][one_third_last]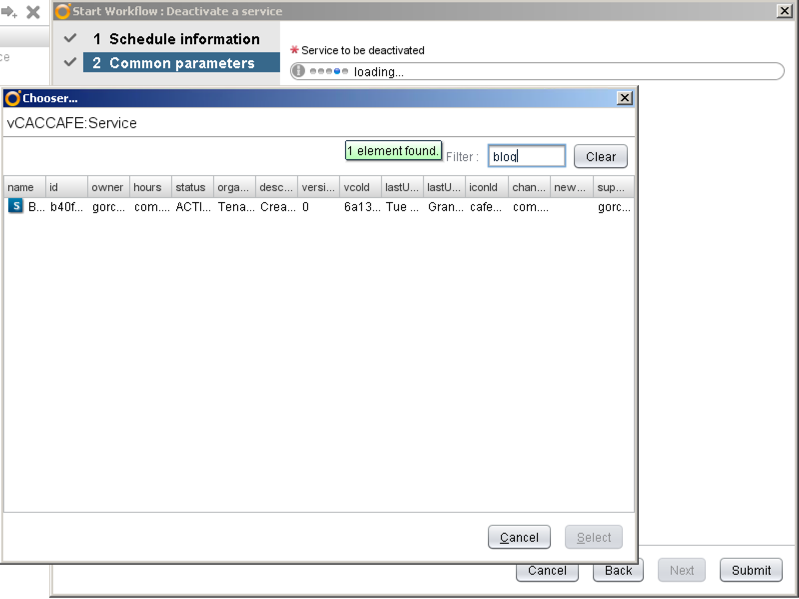 [/one_third_last]
[bra_divider height=’40’]
[two_thirds]Next, we need to make sure the Service comes back online after the maintenance window is complete. Select the “Activate Service” workflow and click the schedule button as you did previously. Enter a descriptive name and then define the day and time you want this to run. Again, select the schedule to make sure it runs more than once.[/two_thirds][one_third_last]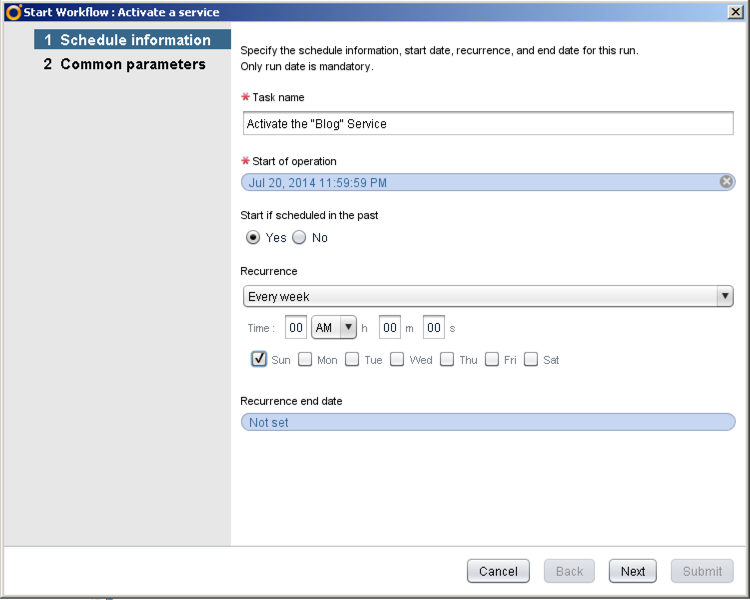 [/one_third_last]
[bra_divider height=’40’]
[two_thirds]Add the Service by putting it’s details into the search box, select it and then click the appropriate buttons to close out the dialog box successfully.[/two_thirds][one_third_last]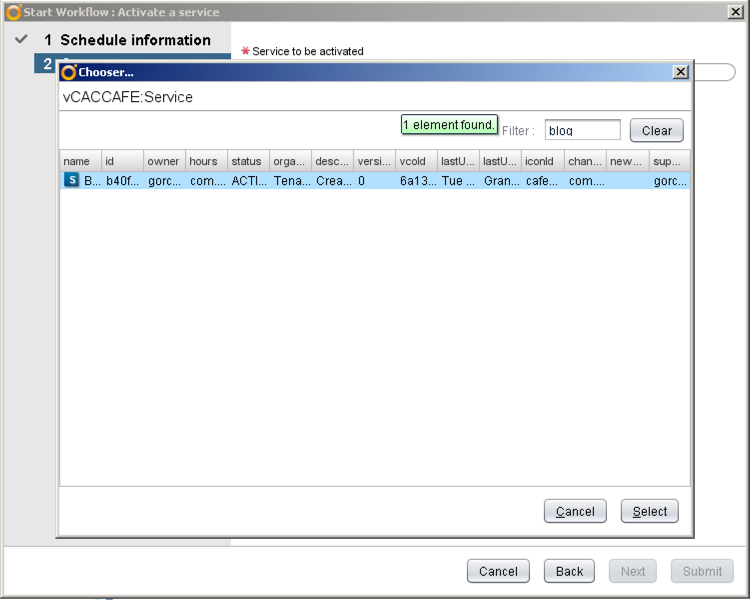 [/one_third_last]
[bra_divider height=’40’]
With that, you’re done – rinse and repeat with as many Services as you wish.